
Are you a stereo producer enjoying your copy of Cinematic Rooms Professional but have found yourself wondering if you could somehow make use of the untapped power in the surround editing planes? If so, and if you have a suitable host, here’s a quick guide to show you how with a little creative routing you could find Cinematic Rooms Professional to be quite the powerhouse of creative potential!
You can treat the surround version of the plugin as multiple stereo instances by feeding the front channels of a surround bus, edit the reverb differently in each plane with relative biasing, and then drop the cross-fed rear/side/elevated surround channels down on top of each other with a down-mix tool to create a wonderfully detailed stereo reverb! Many surround capable hosts such as Pro Tools include a down-mix plug-in, or you could pick up a commercial one if your host doesn’t include something suitable.
Here are just a few examples of the things you could try:
- Layer up different reflection proximity and sizing for an extremely detailed early reflection environment (even set some with lower and higher diffusion and change the relative levels of them with the trim control) – don’t worry about comb filtering or other artefacts as the delays fall close to each other, they are designed to sound great even as they climb all over one another!
- Add different pre-delays, filter curves and undulation settings to reverb tails to make complex echo patterns that really bounce around (also add some delays too if you like excess)
- Filter and elongate the reverb time of a plane for a complex extensions in different frequency bands
- Balance the early / late reverb mix in different planes to enhance or subdue the effect of your early/late edits
- Change the length of a reverb in some planes with accompanying width modifications so that your reverb gradually gets wider or tighter as it progresses
- Don’t forget the cross-feed tab’s delay and roll-off, these will act directly on the content in the planes as everything going into them counts as crossfed audio
Let your imagination run wild!
To get started:
- Set up Cinematic Rooms Professional on a quad/5.1/7.1 bus (i.e. as a send effect), picking the channel count depending on how many different planes you want to use
- Route a mono or stereo track into the bus panned to the front of that send bus (alternatively send some to the sides/rears as well but enable the surround plane acoustic isolation in settings)
- Drop a down-mixer plugin after the reverb’s output so that you can mix the front/side/rear channels into a single L/R stereo channel
- Mute or pull down the centre channel (it will only serve to reduce the width of the final output which we probably don’t want)
- Enable the surround editing planes in Cinematic Rooms Professional so you can see the front/rear/sides etc
- Make your changes in the side/rear planes
If you are using Pro Tools, you can go even further by also using the plug-in’s three auxiliary outputs with the elevation plane:
- Enable the auxiliary outputs from the surround settings menu (you may need to restart the plugin if you’ve not enabled them before)
- Create 3 stereo auxiliary busses to route extra audio into
- These auxiliary busses need to be set to accept their audio source as Cinematic Rooms’ auxiliary outputs
- Make some edits in the elevation plane
- For bonus points, add some extra effects on to the auxiliary channels.
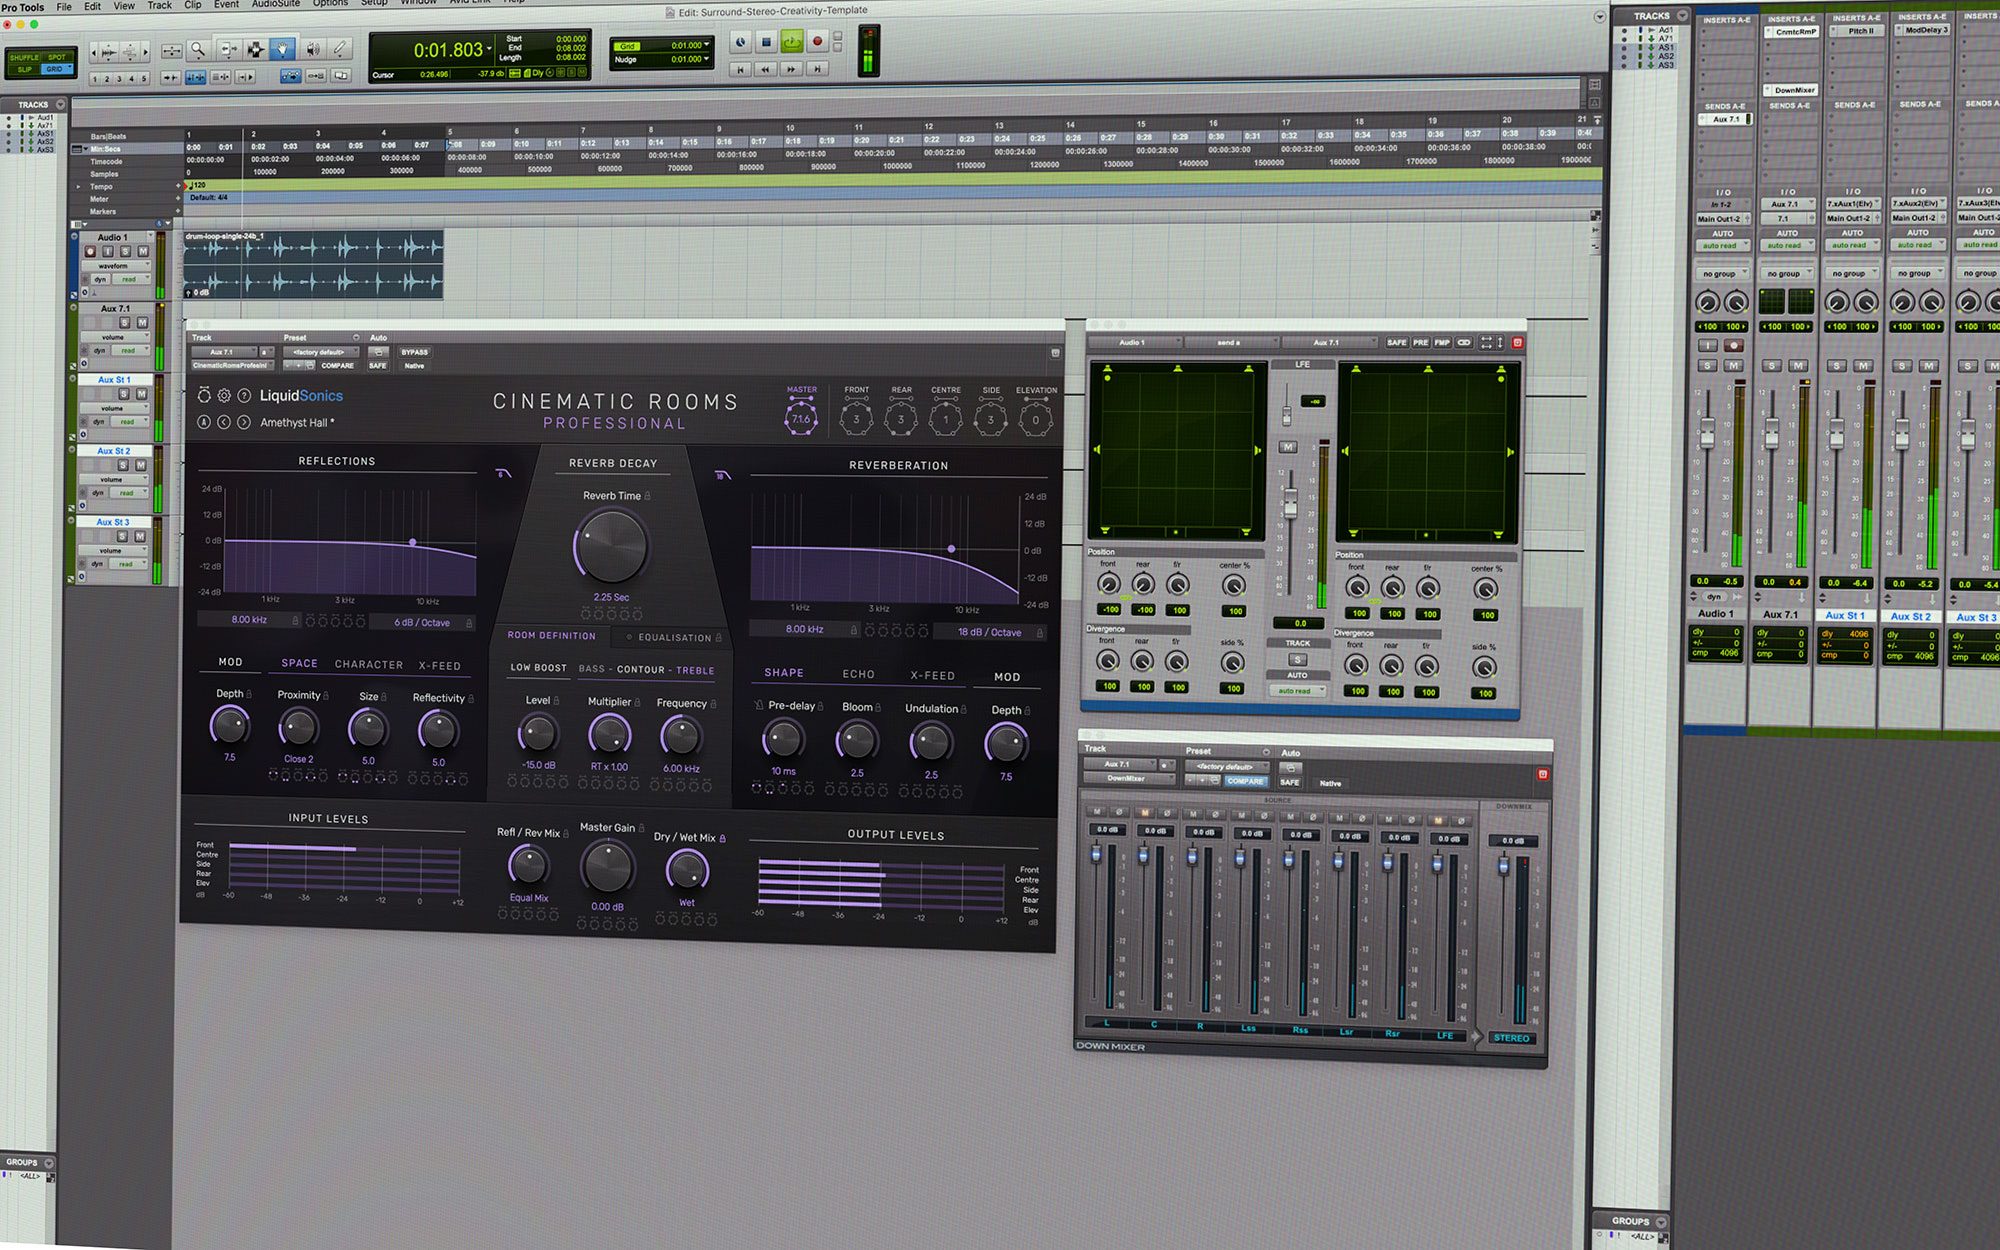
- In this post’s example screenshot we have some pitch shifting on one channel, an extra delay on another, and left the final auxiliary bare. You could add all sorts of effects like distortion or even another brand of reverb here (mix the elevation plane to reflections only and try feed it that into another reverb, maybe try a D-Verb one one of the modes that have heavy chorusing for a modern high density take on a chorused old-school reverb).
Of course all of this could be achieved using stereo instances, but there are a couple of benefits to working this way:
- You can keep all of the other parameters in a preset the same without having to edit multiple plugins (i.e. there is no need to go and edit multiple instances just to tweak the reverb time a little)
- From a technical standpoint this is the best way because all of the reverb channels will be decorrelated by default – so if you introduce small delays between the planes you will not encounter any phase problems when they drop down on top of each other
If you like the sound of all this but picked up a copy of the standard edition (which does not include the plane editing capability) remember that you can easily upgrade to the professional edition at any time for the difference in price of the two.
I hope that liberates some creative juices in the power users out there… have fun!