
Reverberate 3.2’s new Contour tab includes tools for convenient and quick editing of reverb decay times allowing you to re-profile decays to anywhere from 25% up to 175% of the original sampled reverb decay time. You can also adjust the treble and bass decay times above and below user definable frequency cross-overs. Read on for more details, or download the installer from the LiquidSonics downloads page (please ensure you have iLok License Manager v5.4 and up).
We have also released a free new heritage capture library called FS-91 (available on the Fusion-IR downloads page) with hundreds of new captures.
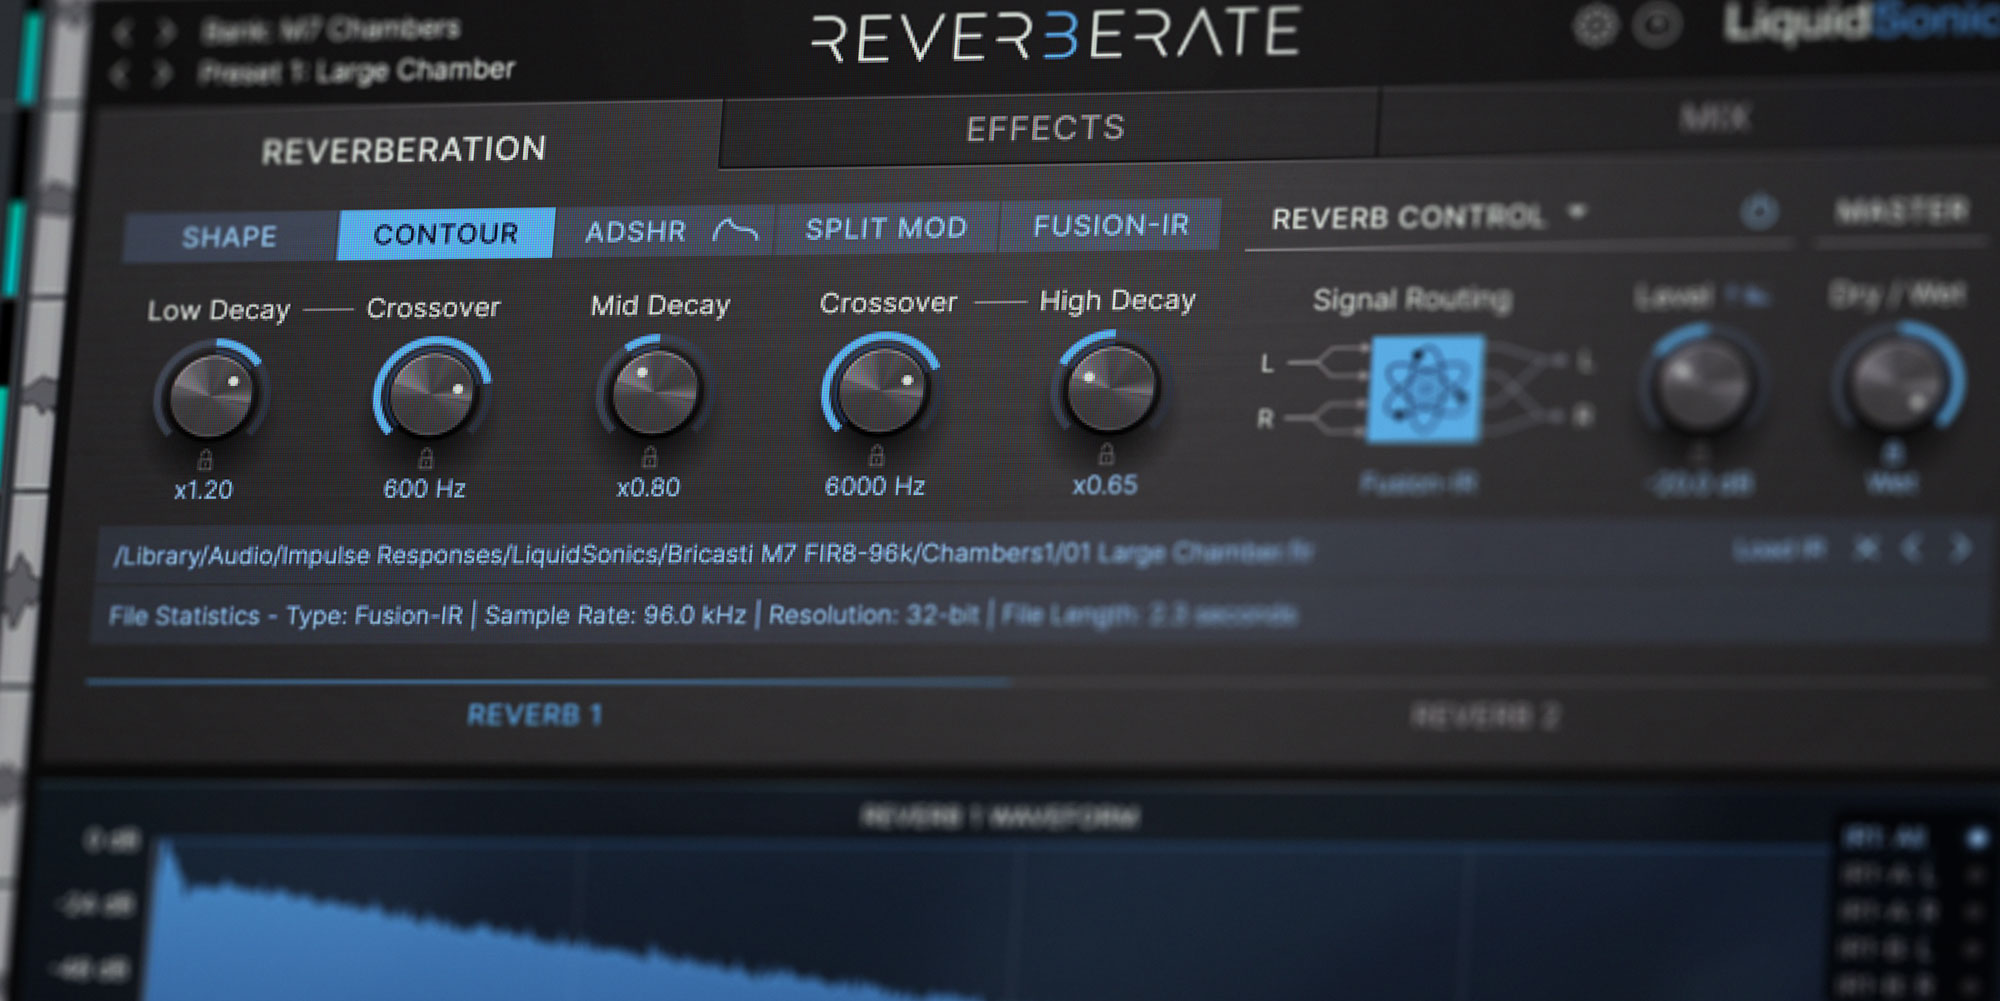
Contouring and Decay Adjustments
Have you ever wanted to make a captured reverb a little longer or a little shorter but found the stretch and envelope tools of a convolution reverb are not quite up to the job? Or what about when you need to thin out the low end of a reverb towards the end of its decay, but without compromising the authoritative presence of a hall’s early-onset like a traditional roll-off filter would?
Some of these things could be done in Reverberate since version 1. Still, I must admit editing reverb crop points, envelopes curves, and time-dependent filters can all get a bit frustrating at times. There needed to be a better way to achieve these types of edits. Reverberate 3.2 introduces reverb decay contouring, a much more sophisticated but far simpler way of tackling these workflow challenges.
Reverb decay contouring will help out a great deal whether you just want to tweak the reverb’s natural decay length or dive a bit deeper into the low, mid and high decay times of a reverb capture. The overall concept should feel immediately familiar to those of you that use the contouring controls of algorithmic reverbs (those are the low and high reverb time multipliers that provide control over bass and treble extension).
The contour controls provide a quick and straightforward way to modify the exponential decay in a very intuitive way, from 25% to 175% of the original length, in single-band or multi-band mode. The mode of operation depends on how you set up the multipliers, as follows:
- Reverb time re-decaying mode (single band) is active when low and high decay multipliers are disabled
- Multiband contouring mode is active when either low or high multiplier are larger or smaller than x1.0
Reverb Re-Decaying (Single Band Mode)
Most reverbs decay exponentially; this is why you often see a generally straight line when plotting a reverb impulse response on a Decibel (logarithmic) scale. These can be tricky to shape naturally using most enveloping tools in convolution reverbs. Reverberate allows you to re-shape the curve to a different exponential decay that is either faster (i.e. a shorter reverb time) or slower (i.e. a longer reverb time) quickly and easily.
In the example below, a simple reverb time reduction of 20% is applied to the entire reverb. This reduction produces much more natural results than stretching an impulse response, and it is much quicker to get the desired effect than using ADSHR envelopes.
In many cases, we can even successfully apply up to 75% extensions to the reverb time to make a sample much longer than was the case when it was captured. Usually, in a convolution reverb, you cannot make a reverb longer without pitch or time stretching it. Stretching is not ideal.
- A pitch varying time-stretch will either reduce the top end or the high end, depending on which direction you stretch in as it shifts the frequency content up or down. You don’t usually want to lose the low end when shortening a reverb, or to drop top end out when making it longer.
- A pitch-invariant stretch will introduce very audible splice artefacts due to the dense decorrelated nature of a reverb decay playing havoc with correlation-based splicing/overlay algorithms. These tend to sound sputtery as sections of audio are overlaid or removed to extend or cut very small sections. Such techniques often work better for audio streams than IRs.
- Any kind of stretch will modify the timing of early reflections or delays, which can affect the perceived size of the onset of the reverb in an undesirable way.
When researching how best to implement this technique, I tried all the commercial pitch invariant stretching solutions I could find (and some of my own design). I wasn’t very happy with the results from any of them as they are just not designed for stretching impulse responses so the artefacts are very clear to hear. Reverberate 3’s re-decaying approach provides much more latitude than usual to shrink or extend a reverb tail without dramatically altering the reflections or introducing undesirable time-stretching artefacts.
Of course, there is only so far you can practically extend an impulse response (+75% is pushing things quite far), and this is why in Seventh Heaven so much multi-sampling was required. Not to mention the fact that the structure of a reverb begins to change in many reverbs, including M7, as the reverb time varies. However, if you don’t have access to extensively multi-sampled reverbs, this is a very helpful technique.
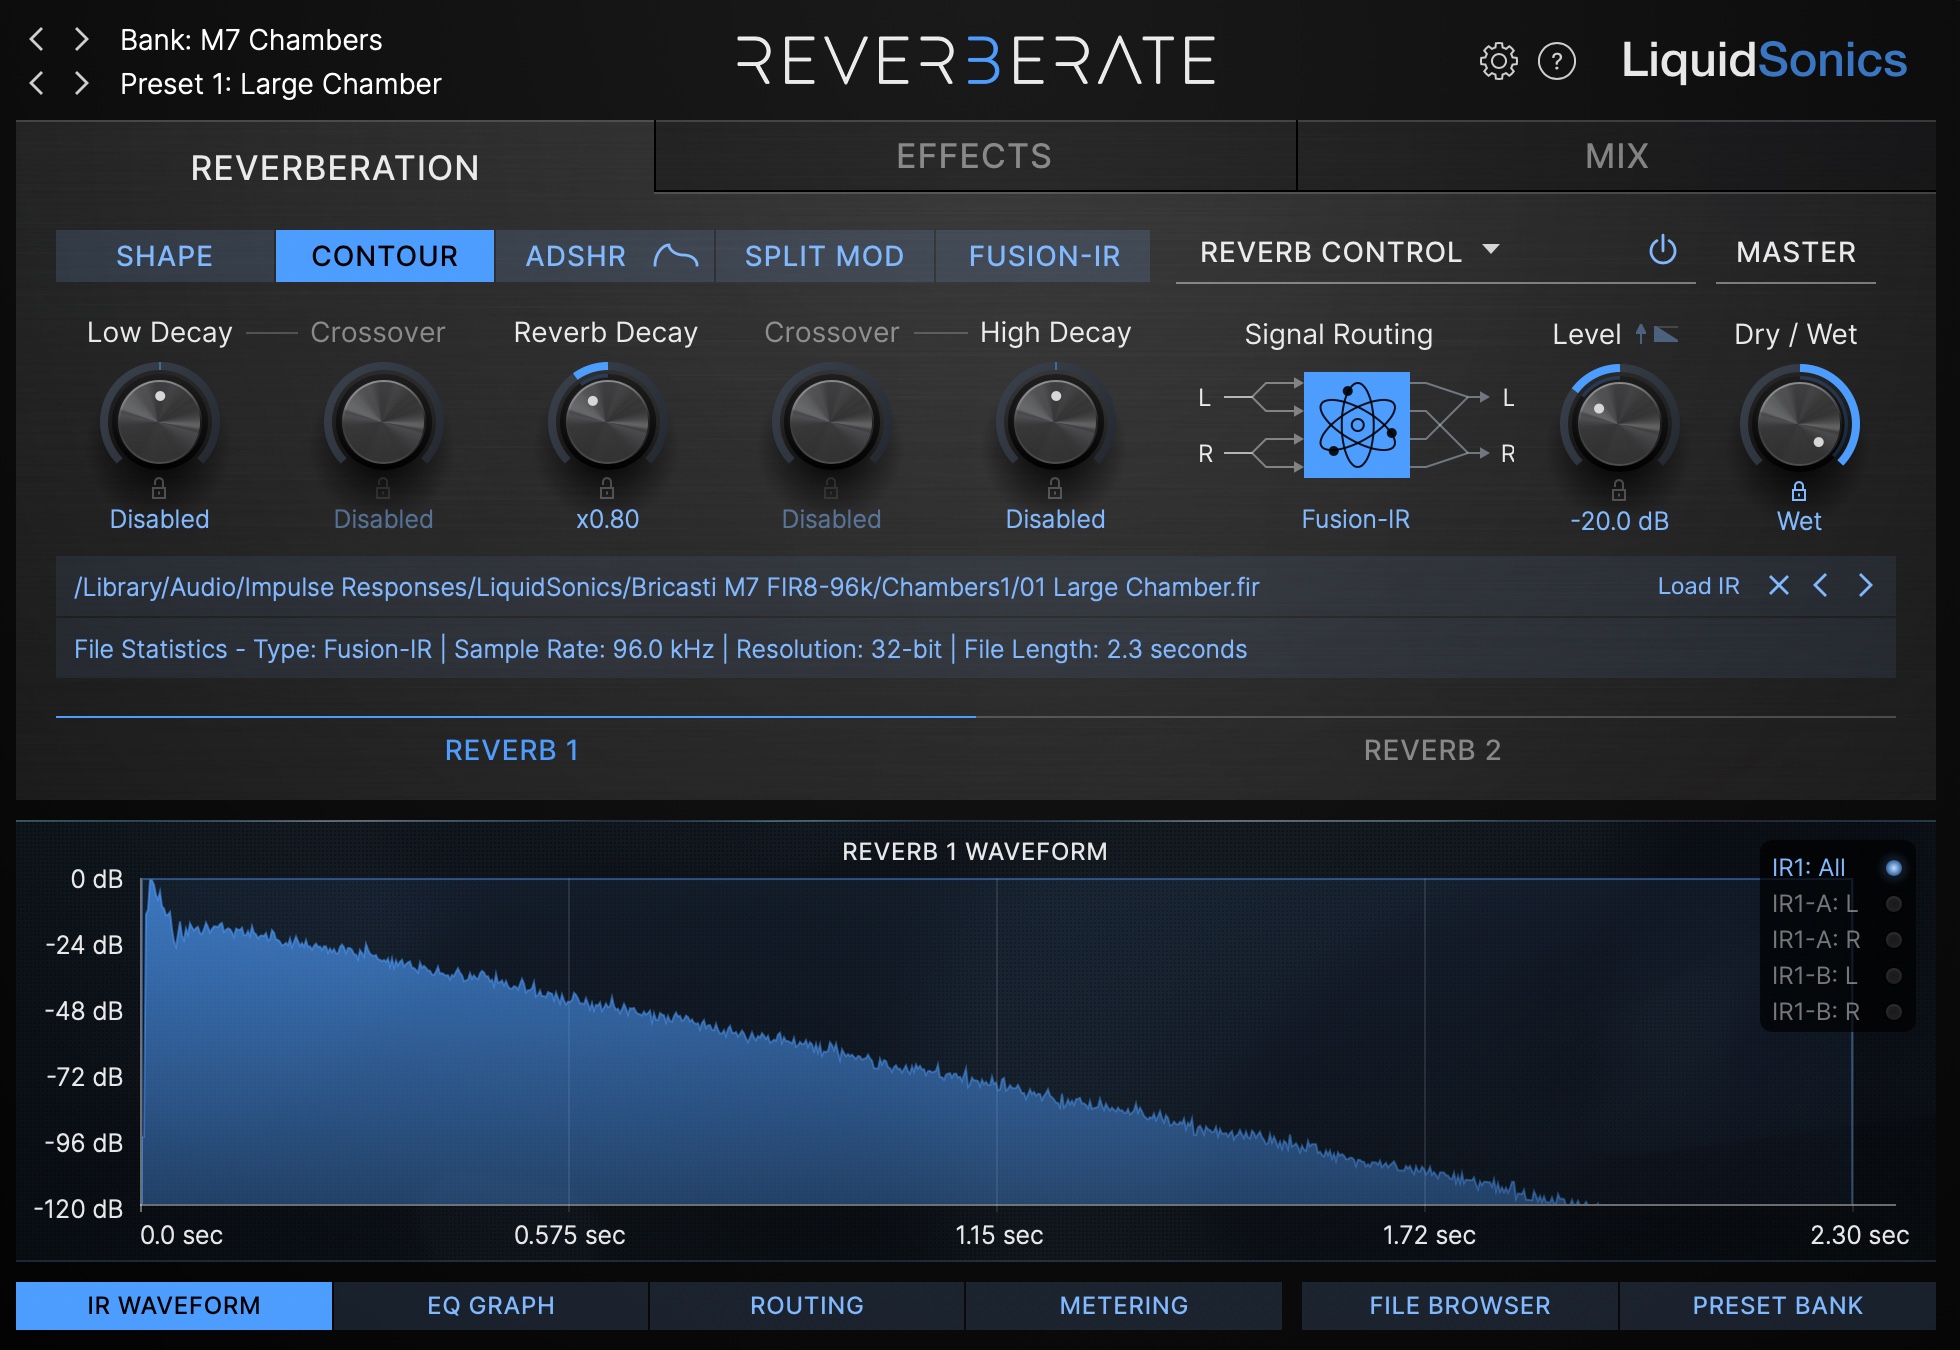
To access this mode, ensure the Low Decay and High Decay multiplier dials are at their default middle positions (either enter “1” in the value or double-click to reset them to do this if they are not already). The crossovers will deactivate, and the central control will show “Reverb Decay” to illustrate that the multiplier will re-shape the entire decay curve for this capture. Note that this is applied after reverb start/end trimming but before the ADSHR enveloping.
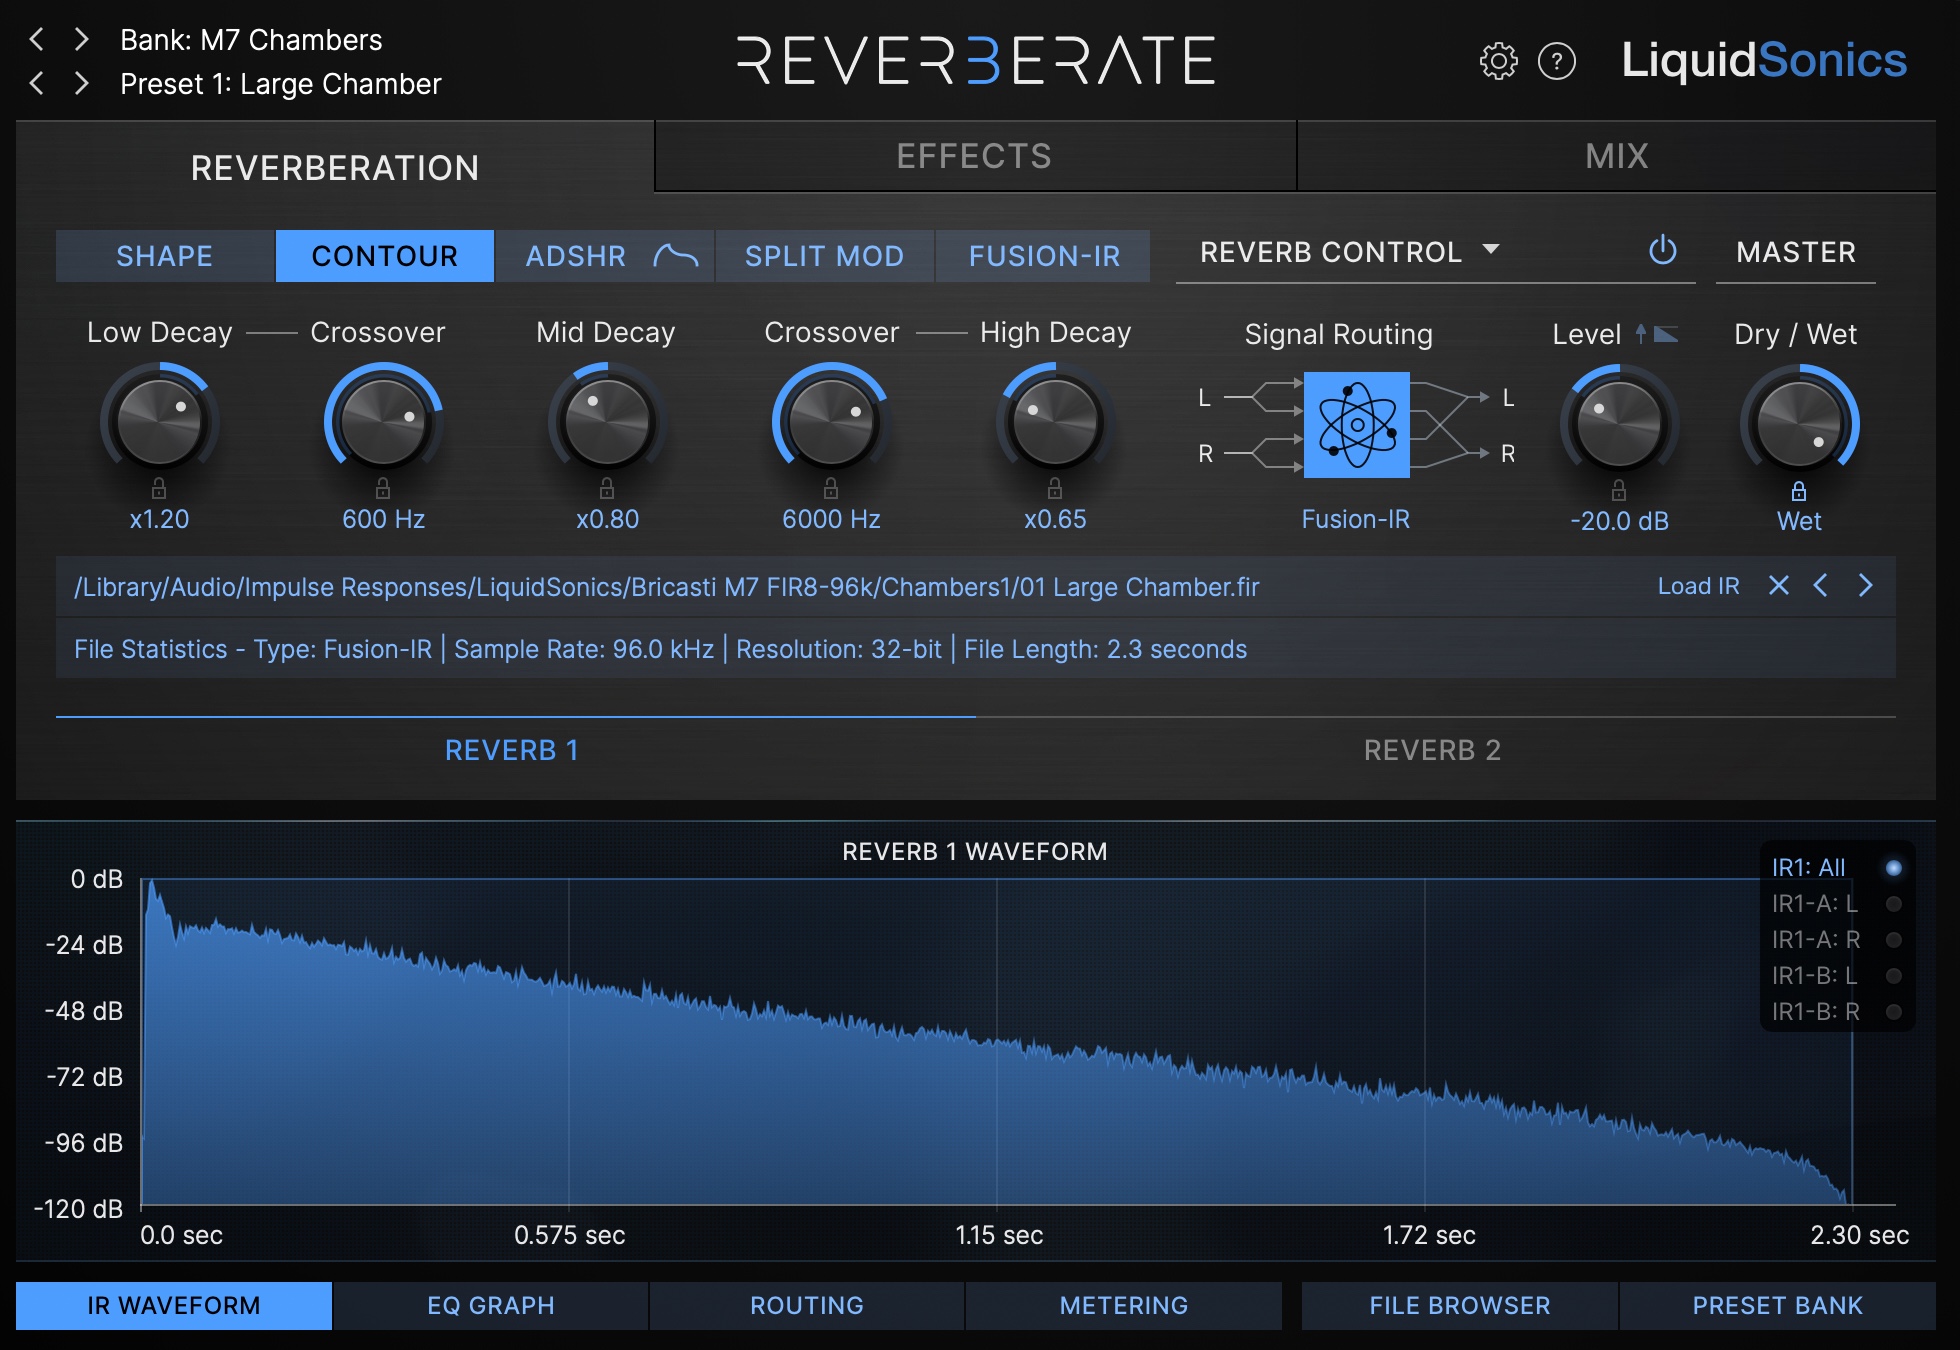
Multiband Contouring
Most algorithmic reverbs allow you to set a base reverb time (RT60) and then apply low and high-frequency filters within the reverb loop, which progressively roll off low and high-frequency content. This filtering creates low-end rumble that persists in a cave or the high-end fizz of a tiled room.
To achieve a similar effect in Reverberate 3, engage the Low Decay and/or High Decay reverb time multipliers using the “low decay” and/or “high decay” dial. This activates multi-band contouring mode. The reverb is split into three parts using high-quality crossovers, and then each is passed into the re-decaying algorithm.
There are many useful scenarios for this feature, such as:
1. Low End Extension
In the example below, we have extended the low end below 600 Hz by 20%. It pulled back the mids by 20% and the highs above 6 kHz by 35%. This will create a much darker reverb with prominent bass decay.
2. High End Fizz and Sizzle
Similarly, you could pull back on the lows and mids to create a much brighter reverb with a lot of sizzle, especially if the sample has a lot of high end in it.
If you can’t quite get the effect you’re after because the capture does not have much high-end content in it to work with, first try adding “sheen” using the Reverb 1 / Reverb 2 equalisation filters. This adds artificial high-end content, so you will have more high end to play with rather than being stuck trying to boost what isn’t there.
3. Low End Definition and Late Rumble Suppression
Usually plate reverbs on longer reverb times (and sometimes halls) have quite a lot of low end in them. If the bass is rumbling on for a little too long we would often apply a low cut filter to them, but that affects the entire reverb. Instead, we could cut the lows below 800 Hz later in the verb by choosing to restrict them to around 75% of the length. This will remove a lot of the extended low weight of a capture without taking away too much of the reverb’s initial body.
Workflow Notes
Take care not to apply too much multiband extension at a time in every band. A long extension in one band and a cut in another can be very effective, but a maximum multiplier applied in all bands can easily cause the reverb to lose its natural decay shape or even become unstable (i.e. increase dramatically in volume at the end of the response) as the multipliers will often combine in overlapping regions. The longer times have been provided for maximum flexibility when surgically working in multiple bands, but please take care with some of the more extreme combinations!
If you have a particularly noisy impulse response at larger reverb time extensions, this technique could introduce rather too much noise at the end of the reverb as it will pull out and emphasise whatever characteristics are present in the tail. You may experience a slight gating effect with samples that were trimmed enthusiastically (i.e. those not providing much low volume content at the end to work with) or come at low bit-depths. It will be apparent which IRs are suitable in any given scenario through experimentation, but most adverse effects can usually be tackled effectively with the ADSHR envelopes. Use of this technique with non-exponentially decaying reverbs may create some peculiar decay shapes and is not recommended; this will be somewhat clear from the waveform visualisation.
You may note that as the reverb length grows and shrinks, the perceived volume can rise and fall. An algorithmic reverb would usually compensate for this. Still, it is tricky to do this with a captured reverb because it would affect the relative levels of the early and late reflections (and this is especially true for multi-band operation), so additional level compensations were not implemented. With a Fusion-IR, you can balance the reflections manually later if you need to tweak the level due to extensive reverb time changes.
If you are using this feature with an M7 capture but find the level change to be a problem and don’t want to go and tweak the early/late balance, do bear in mind an advantage of Seventh Heaven is that this is taken care of automatically. Since it has a more restricted feature set, it’s possible to ensure that any length changes to the reverb are automatically compensated just as they would be in an M7.
FS-91 Expansion
But wait, that’s not all… if you’ve been looking for some fresh content then don’t miss your chance to pick up the new FS-91 Fusion-IR expansion pack which features 8 banks of wonderful reverb from the late-90’s. Delve into nearly 400 new captures including concert halls, random halls, rooms, plates and even two banks dedicated to post spaces.
The v3.2 update and new expansion pack are both available to download for free from the downloads page (or grab the expansion on the Fusion-IR downloads page). Just pick up the full installers for both to check out all the new features (there is no need to remove an old Reverberate version first, just install it over the top and you’re good to go).